How to Test a CI/CD Pipeline Locally Using GitHub Actions
Before pushing your code to GitHub you can test a CI/CD pipeline locally, use GitHub Actions with the act command-line tool. It simulates GitHub Actions workflows on your machine, allowing you to debug errors before pushing code. Run act in your project folder to execute the pipeline steps locally, ensuring smooth deployment without breaking production.
Why Test a CI/CD Pipeline Locally?
When you push changes to GitHub, GitHub Actions automatically runs your pipeline. However, debugging failed workflows directly on GitHub can be slow. Running your CI/CD pipeline locally allows you to:
- Identify issues faster without pushing every change.
- Test multiple scenarios before committing.
- Save time and prevent downtime in production.
Step 1: Install Act
curl -s https://raw.githubusercontent.com/nektos/act/master/install.sh | bash

Verify installation
./bin/act --version
Check your installed version of Act. If you don’t want to use the binary (bin/act), set it up globally for easy access.
💡 Note: If you face any issues while running commands, try adding sudo before the command. For example:
sudo act --version
This ensures you have the necessary permissions to execute the commands without errors.
Step 2: Add Act Command Globally(optional)
Since act is installed in ./bin/act, it is not globally available — Add Act Command Globally to Run It from Anywhere
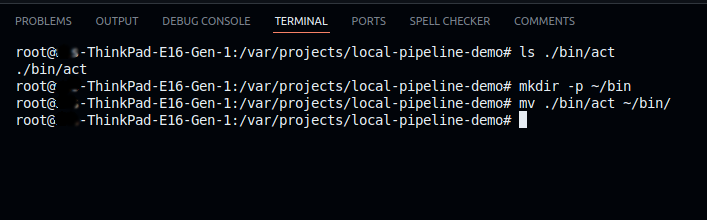
Step 1: Ensure the act is Installed
First, make sure act exists in ./bin/act by running:
ls ./bin/act
If the file is found, proceed to the next step.
Step 2: Move act to a Global Directory
To make the act accessible from anywhere, move it to the ~/bin/ directory in your home folder:
mkdir -p ~/bin
mv ./bin/act ~/bin/
Step 3: Add ~/bin to Your PATH
Open the .bashrc file (or .zshrc if you use Zsh):
nano ~/.bashrc
Add the following line at the bottom:
export PATH="$HOME/bin:$PATH"
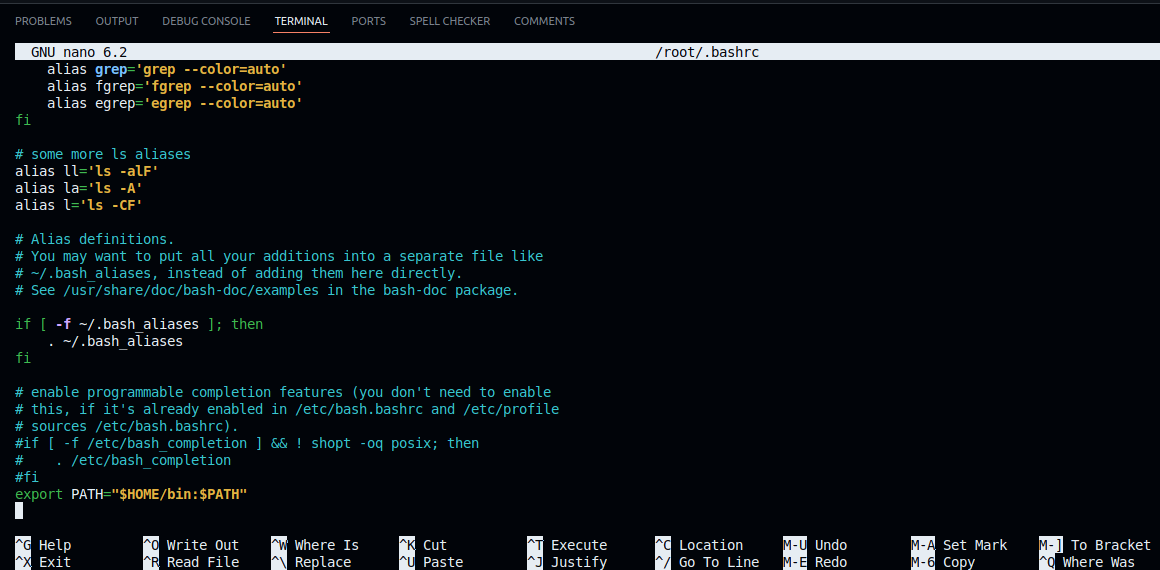
Save the file (Ctrl + X, then Y, then Enter).
Step 4: Apply Changes to the Current Session
Run the following command to update your shell without restarting:
source ~/.bashrc
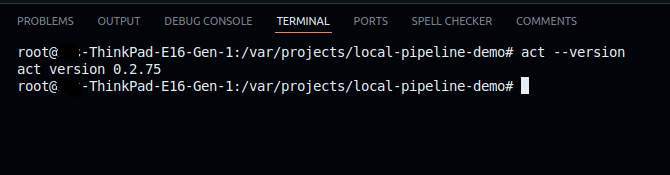
Step 5: Verify act is Now Global
Restart your terminal, Now test if act is available globally:
act --version
Step 3: Run Your CI/CD Pipeline Locally
Once `Act` is installed, navigate to your GitHub repository folder and run:
act
This will execute the .github/workflows/ci-cd.yml pipeline just like on GitHub Actions.

Choosing an Image Size
When running act for the first time, it asks you to select a default image size for running GitHub Actions locally. Choose an option based on your requirements and press Enter.
If it runs successfully, your pipeline setup is complete.
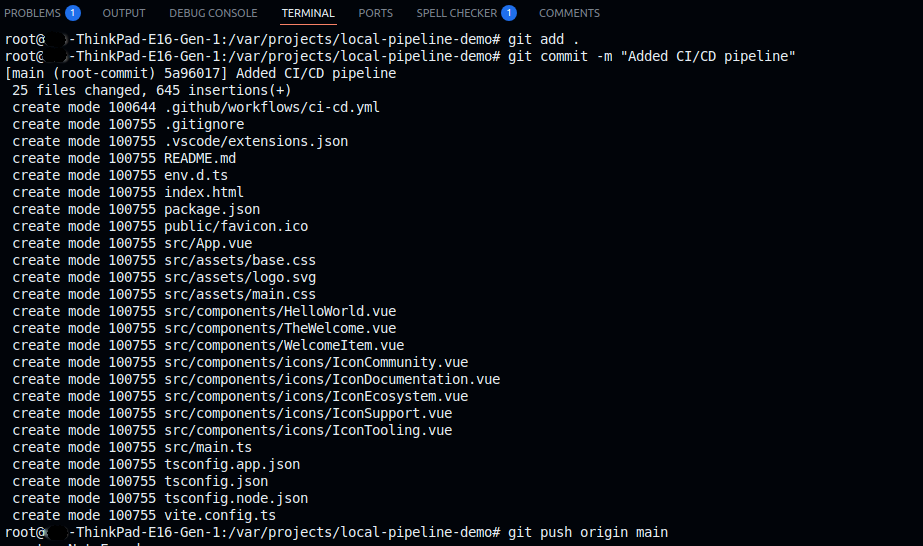
Step 4: Push Your Code to GitHub
My project is called “local-pipeline-demo”, after adding the ci-cd.yml file, push your changes to GitHub.
git add .
git commit -m "Added CI/CD pipeline"
git push origin main
Conclusion
By setting up a CI/CD pipeline with GitHub Actions and running it locally using act, you can automate testing and deployment efficiently. This ensures faster development, fewer errors, and a smooth workflow.
Now that you’ve pushed your changes to GitHub, your pipeline will automatically run whenever you update your code. Try it out and experience the power of automation!
For more insightful tutorials, visit our Tech Blog and explore the latest in Laravel, AI, and Vue.js development!