Cursor AI is a powerful code editor built on top of Visual Studio Code, with amazing AI features to help developers write better and faster code. If you’re using Ubuntu and want to install Cursor AI, this guide will walk you through the steps — including how to fix a common error you might see.
Let’s get started!
Step 1: Download Cursor AI
First, go to the official Cursor AI website and click the Download for Linux button.
You’ll get a file named something like:
Cursor-0.49.6-x86_64.AppImage
Notice that this is an AppImage file, not a .deb installer. AppImages are self-contained applications that you can run directly — but there’s a small setup you need first.
Step 2: Make the AppImage Executable
Open your terminal and go to the folder where the file was downloaded:
cd ~/Downloads
Now make it executable:
chmod +x Cursor-0.49.6-x86_64.AppImage
Step 3: Run Cursor AI
Now you can run the AppImage directly:
./Cursor-0.49.6-x86_64.AppImage
🛠️ Fixing the “The setuid sandbox is not running as root” Error on Ubuntu 24.04 When Launching Cursor
If you’re using Ubuntu 24.04 and trying to launch the Cursor AppImage, you may encounter the following error:
The setuid sandbox is not running as root.
...
Failed to move to new namespace...
errno = Operation not permitted
...
Check failed... Invalid argument (22)
Quick Fix
To bypass the sandbox issue, simply run Cursor with the --no-sandbox flag:
./Cursor-0.49.6-x86_64.AppImage --no-sandbox
Step 4: Common Error and How to Fix It
When I tried running the AppImage, I got this error:
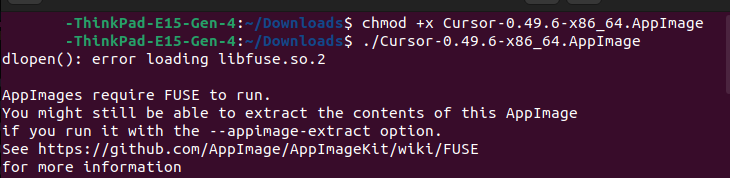
This error means your system is missing FUSE, which is needed to run AppImages.
To fix this, install the missing library by running:
sudo apt update
sudo apt install libfuse2
After installing libfuse2, I tried running Cursor again — and it worked!
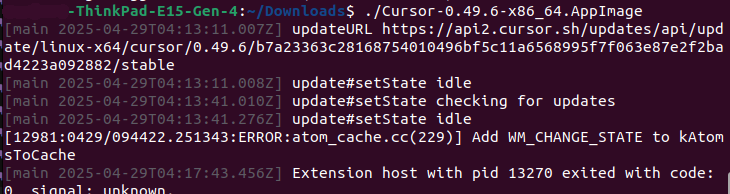
then you see a crusor panel is open like this
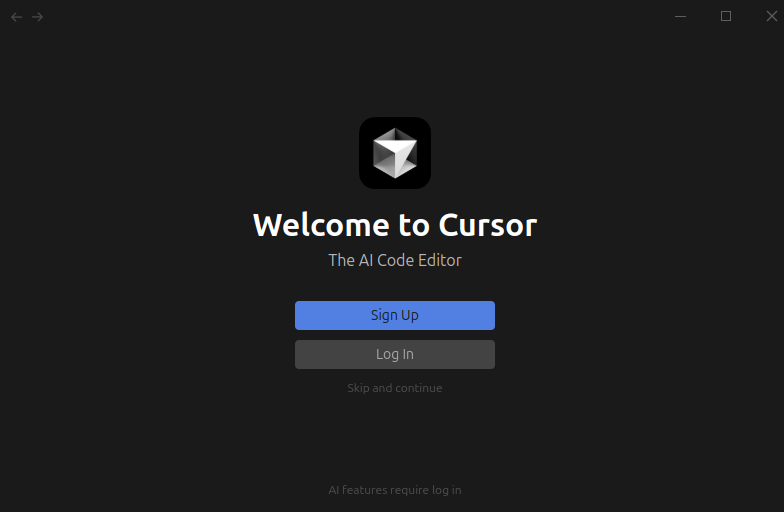
Create your account and click the Sign Up button — you’ll then be taken to this screen.
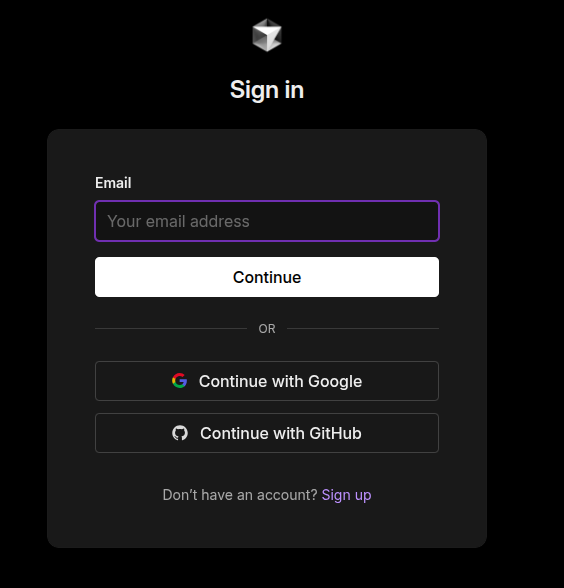
You can continue with your Google account to create your account.
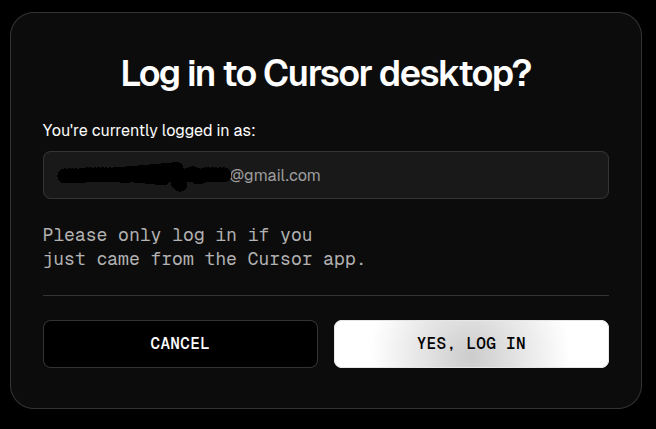
Confirm your email, then click on the Yes, login button

If you’re using VS Code, click on ‘Import from VS Code’. Otherwise, click the link below to skip and continue.
Step 5: (Optional) Make the Cursor Easy to Launch
Right now, you have to manually run Cursor with the terminal command every time.
Let’s make it easier so you can launch it like a regular app from your menu.
Move Cursor to a Permanent Folder:
mkdir -p ~/.local/bin
mv ~/Downloads/Cursor-0.49.6-x86_64.AppImage ~/.local/bin/cursor
chmod +x ~/.local/bin/cursor
Now you can just type:
cursor
to launch it!

Error(Optional)
after you tried typing cursor into the terminal, if you getting this error then follow these
The reason you are getting:
cursor: command not found
after moving the AppImage and renaming it to cursor is because ~/.local/bin is not added to your $PATH automatically on all Ubuntu systems.
Here’s how to fix it:
You need to add ~/.local/bin to your PATH environment variable.
Run this command:
echo 'export PATH="$HOME/.local/bin:$PATH"' >> ~/.bashrc
source ~/.bashrc
echocommand adds the new path to your.bashrcfile (which runs automatically when you open a terminal).source ~/.bashrcreloads your terminal settings immediately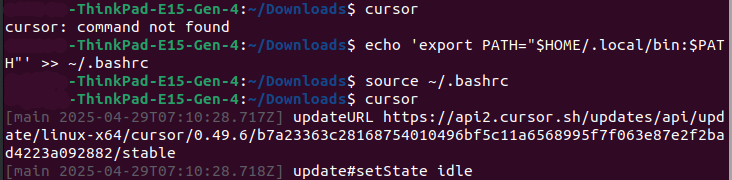 Now! It’s working fine
For more insightful tutorials, visit our Tech Blogs and explore the latest in Laravel, AI, and Vue.js development!